
Having fair skin, I used to avoid self-tanning because I dreaded the thought of ending up with an orange, streaky complexion. The fear of a blotchy mess kept me from even giving it a try.
Fortunately, there are now safe and effective ways to achieve a flawless, natural-looking tan from the comfort of your home.
Self-tanning is an art form, and like any skill, it takes practice and knowledge to master. The key comes from understanding the science behind the process, choosing the right products, and perfecting your application technique.
In this guide, I’ll share everything I’ve learned to help you achieve that coveted sun-kissed glow without risking your skin’s health. You’ll also learn which high-rated tanning products are currently available to achieve the desired tan you so desperately desire.
Understanding the Science of Self-Tanning
The active ingredient in most self-tanners is dihydroxyacetone (DHA), a sugar molecule that reacts with the amino acids in your skin’s surface. This reaction, known as the Maillard reaction, produces pigments called melanoidins, which darken the skin. It’s the same process that gives baked goods their golden-brown color.
Understanding this chemical reaction affects how you prepare your skin, apply the product, and maintain your tan. For instance, the pH of your skin can influence how DHA reacts, which is why some people may develop a more orange tone than others.
The concentration of DHA in a product decides how dark your tan will be. Products with lower concentrations (around 1-3%) provide a subtle glow, while those with higher concentrations (5-10%) result in a deeper tan.
Keep in mind that DHA only affects the outermost layer of your skin, which naturally sheds over time. This is why self-tans typically last about a week before fading.
Choosing the Right Product
The market offers a wide range of self-tanning products, each with it’s own set of advantages. Here’s a breakdown of the most common types:
Lotions
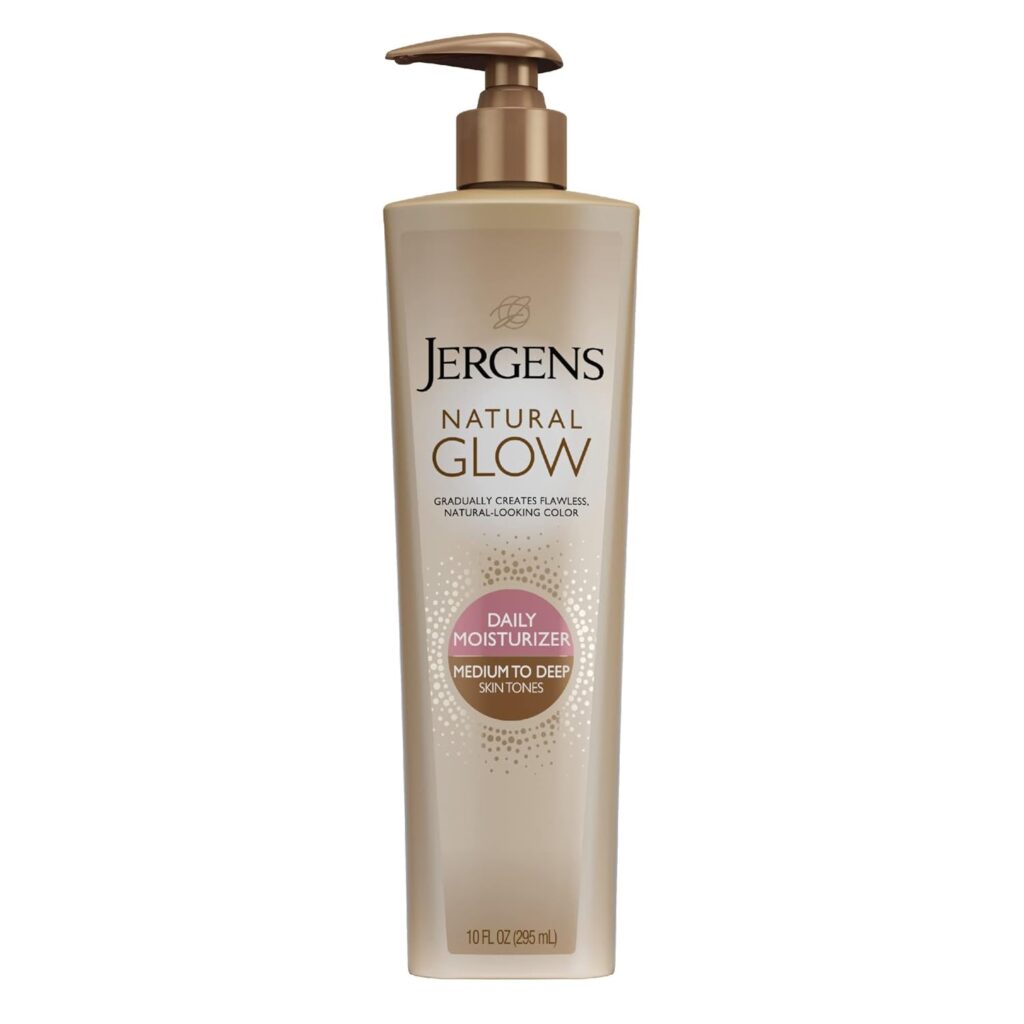
Self-Tanning lotions are a fantastic option for beginners due to their ease of use and moisturizing properties. They provide a gradual tan, allowing you to build color over time while keeping your skin hydrated and smooth.
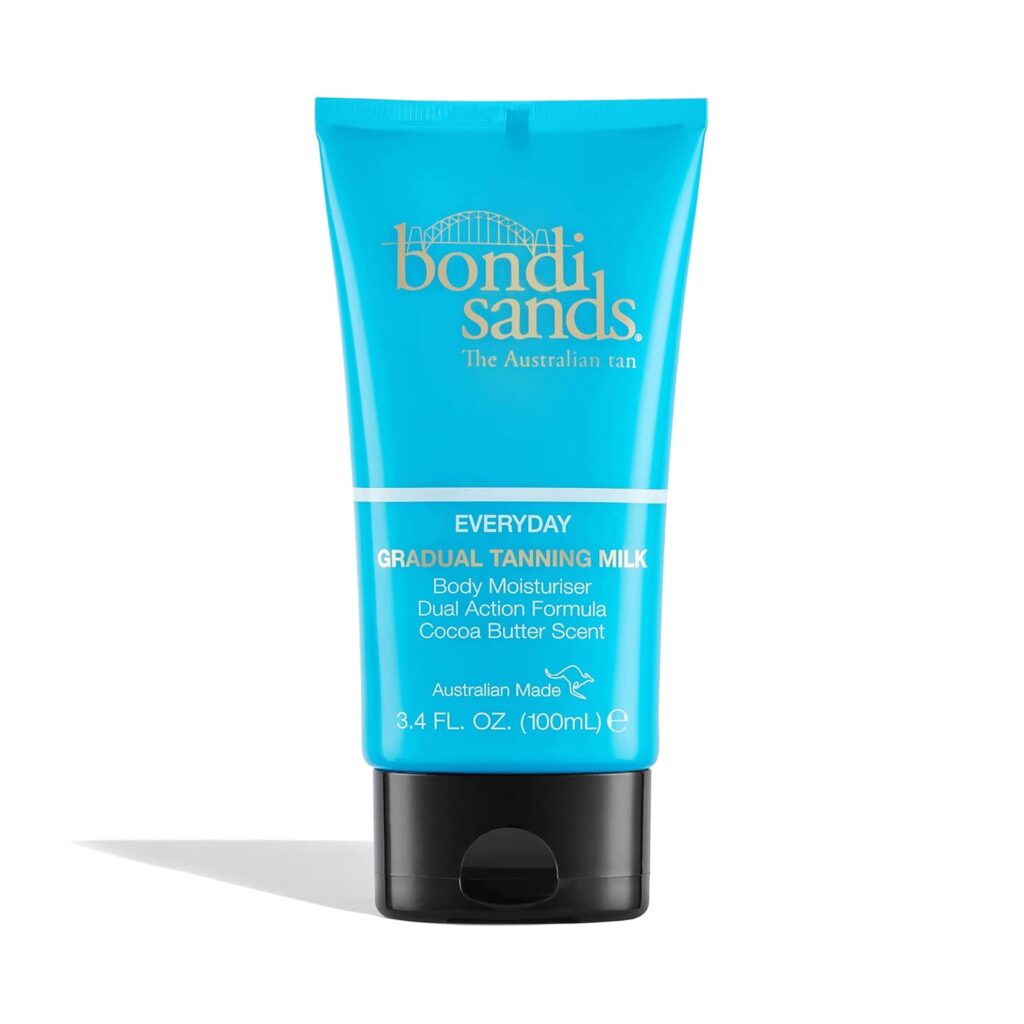
Lotions are ideal for those with dry skin or anyone looking for a subtle, natural-looking glow. The controlled application ensures even coverage, making it a stress-free choice for self-tanning newbies.
Start your self-tanning journey with our recommended lotion picks today! Explore products like Bondi Sands Everyday Gradual Tanning Milk for hydration and a streak-free finish and Jergens Natural Glow Self Tanner Body Lotion, Sunless Tanning for a flawless tan for gradual, natural-looking color before, or after, the beach.
Mousses
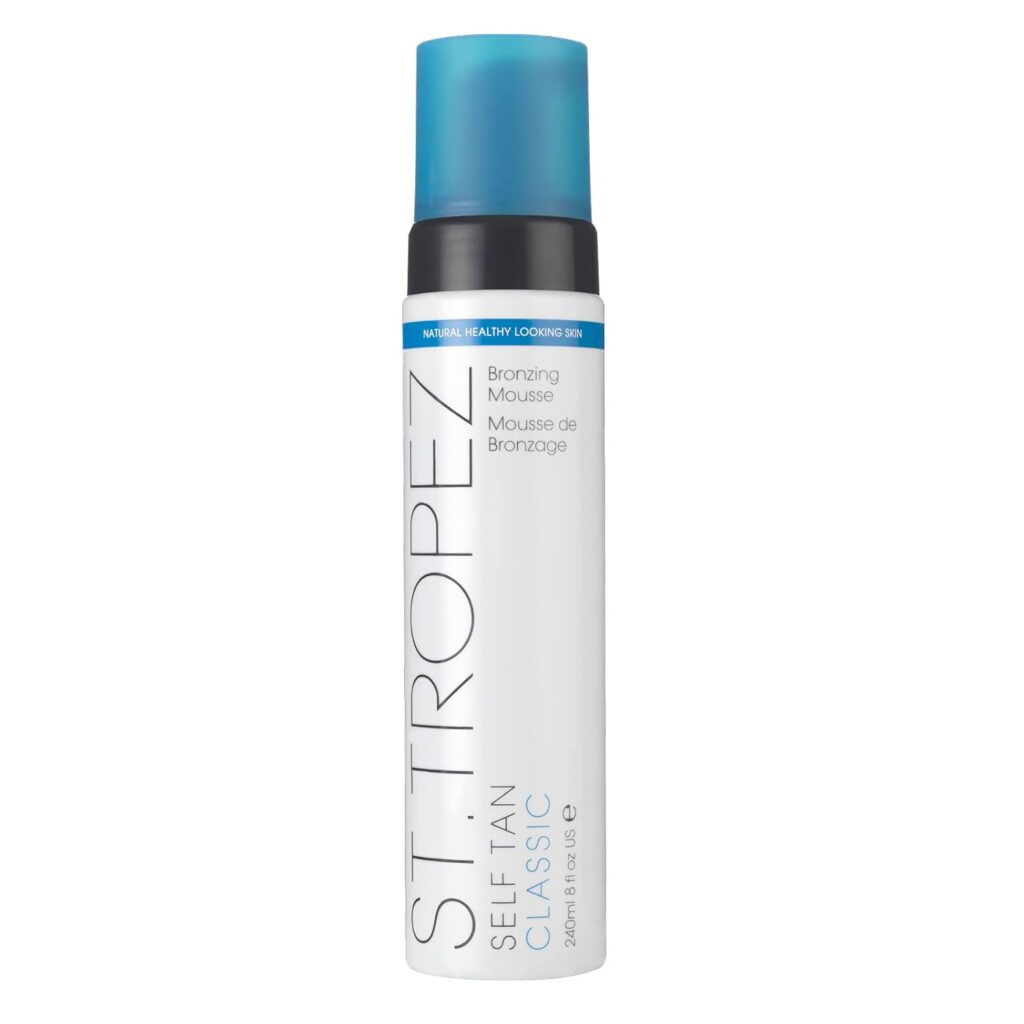
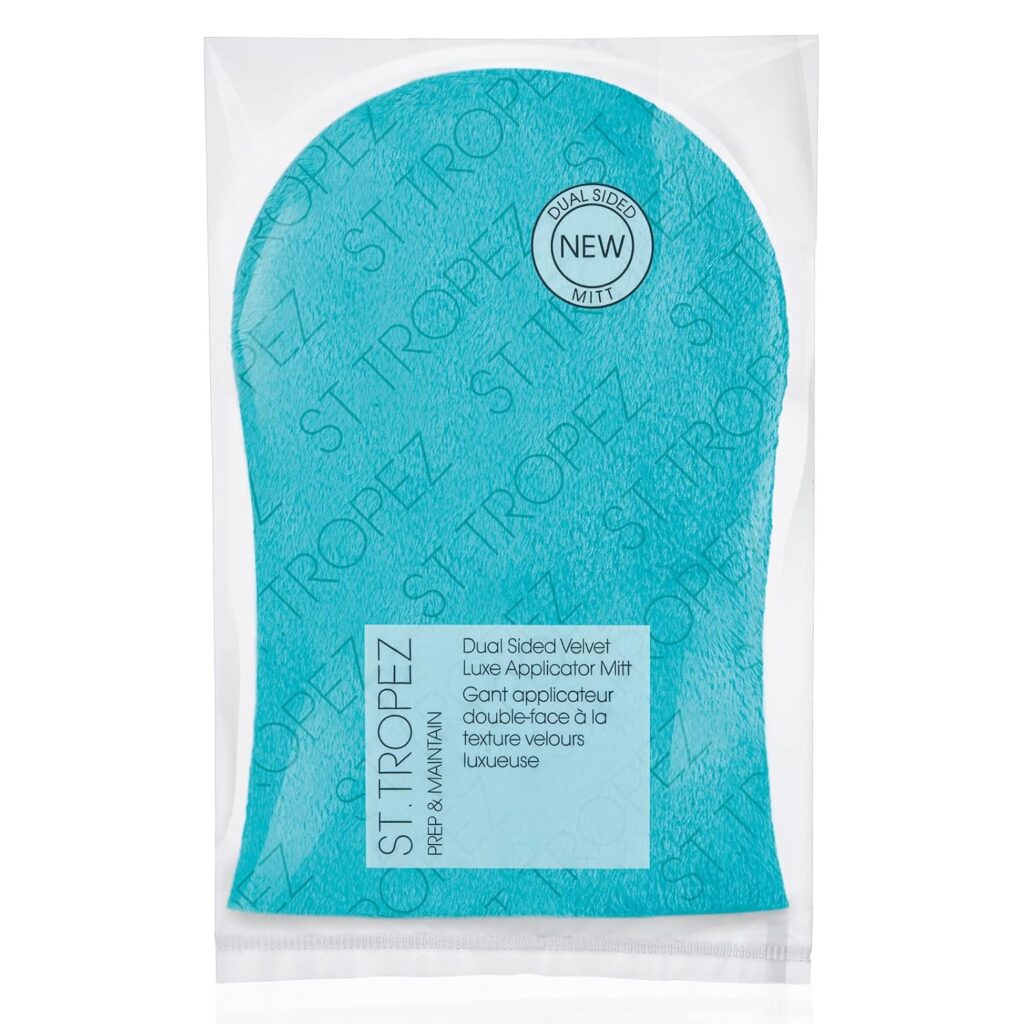
If speed and deeper color payoff are what you’re after, mousses are your best bet. These lightweight, fast-drying formulas are perfect for experienced self-tanners who want quick application and dramatic results.
Mousses spread effortlessly and often develop into a rich, long-lasting tan. They’re particularly effective for those preparing for a special event or night out.
Ready for instant results? Try St. Tropez Self Tan Classic Bronzing Mousse for a flawless, fast-drying finish. Don’t forget to grab a tanning mitt for streak-free application!
Sprays

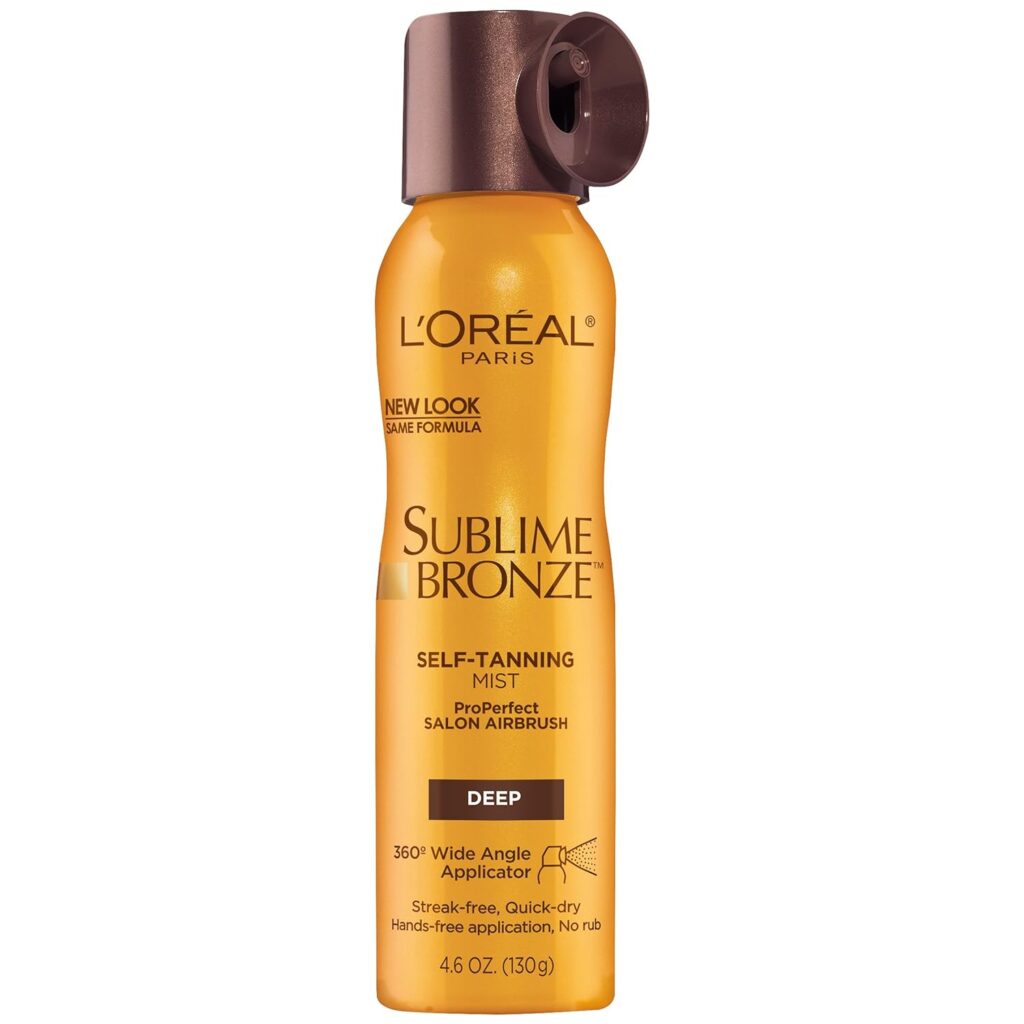
Spray tans offer quick and even coverage, making them a lifesaver for hard-to-reach areas like your back. While they may take some practice to master, sprays are great for achieving a professional-looking tan at home.
They’re perfect for individuals seeking a streak-free application and those who prefer a hands-free approach to tanning.
Experience precision and even coverage with L’Oréal Paris Sublime Bronze ProPerfect Salon Airbrush Self-Tanning Mist. Pair it with a back applicator for flawless results!
Drops
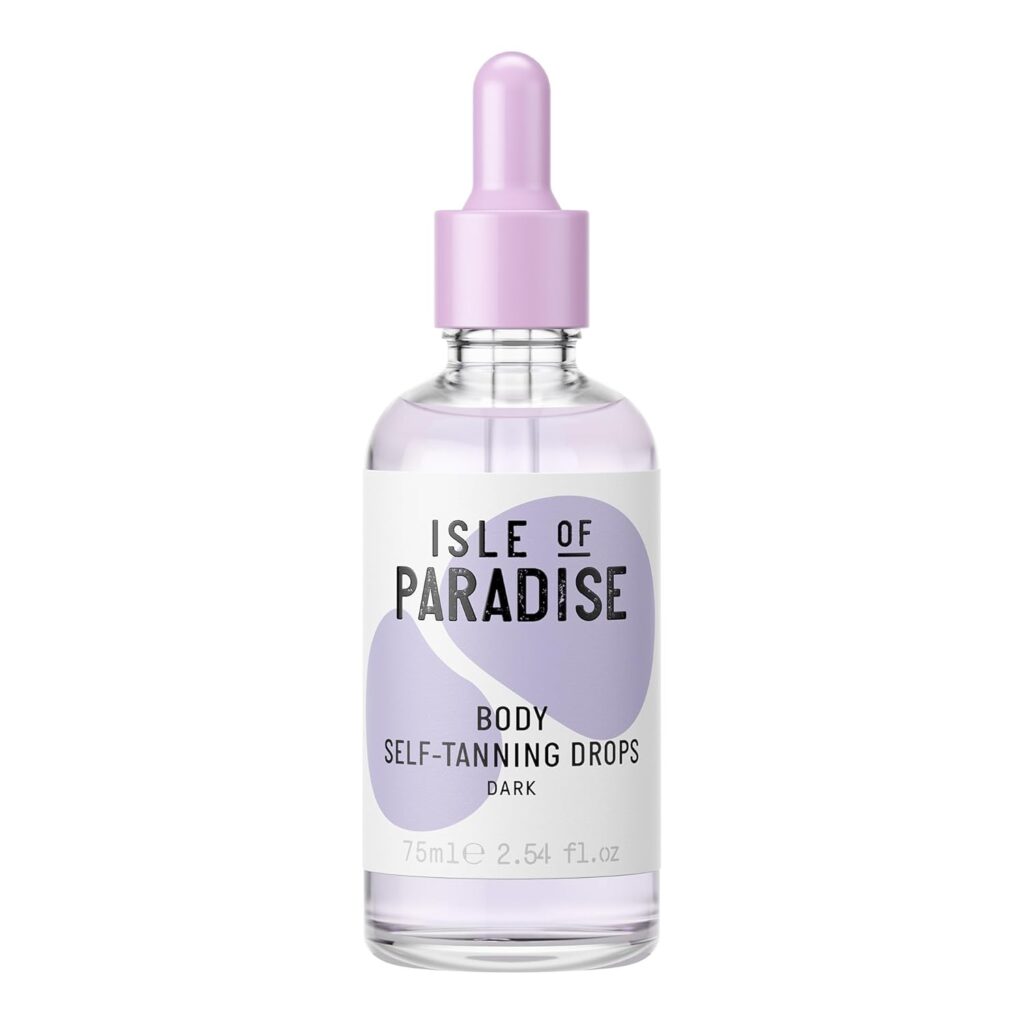
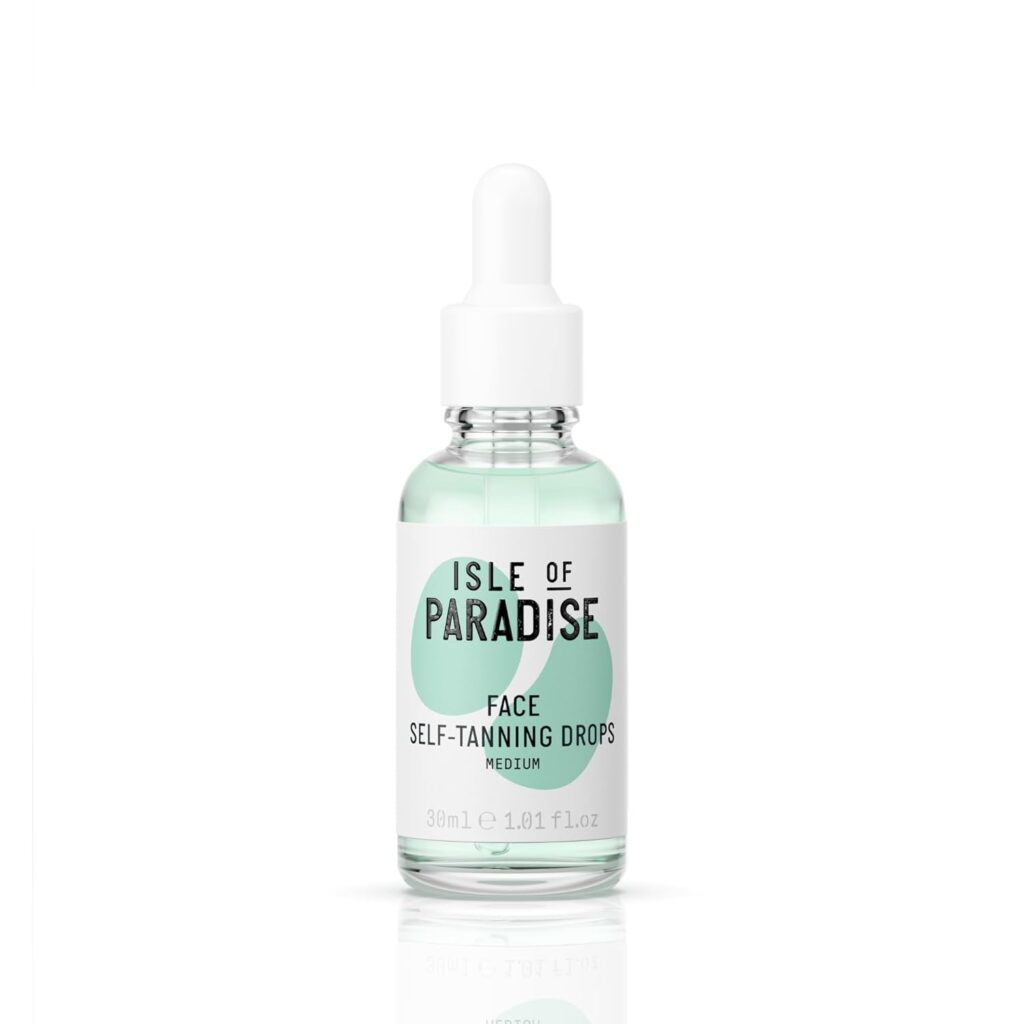
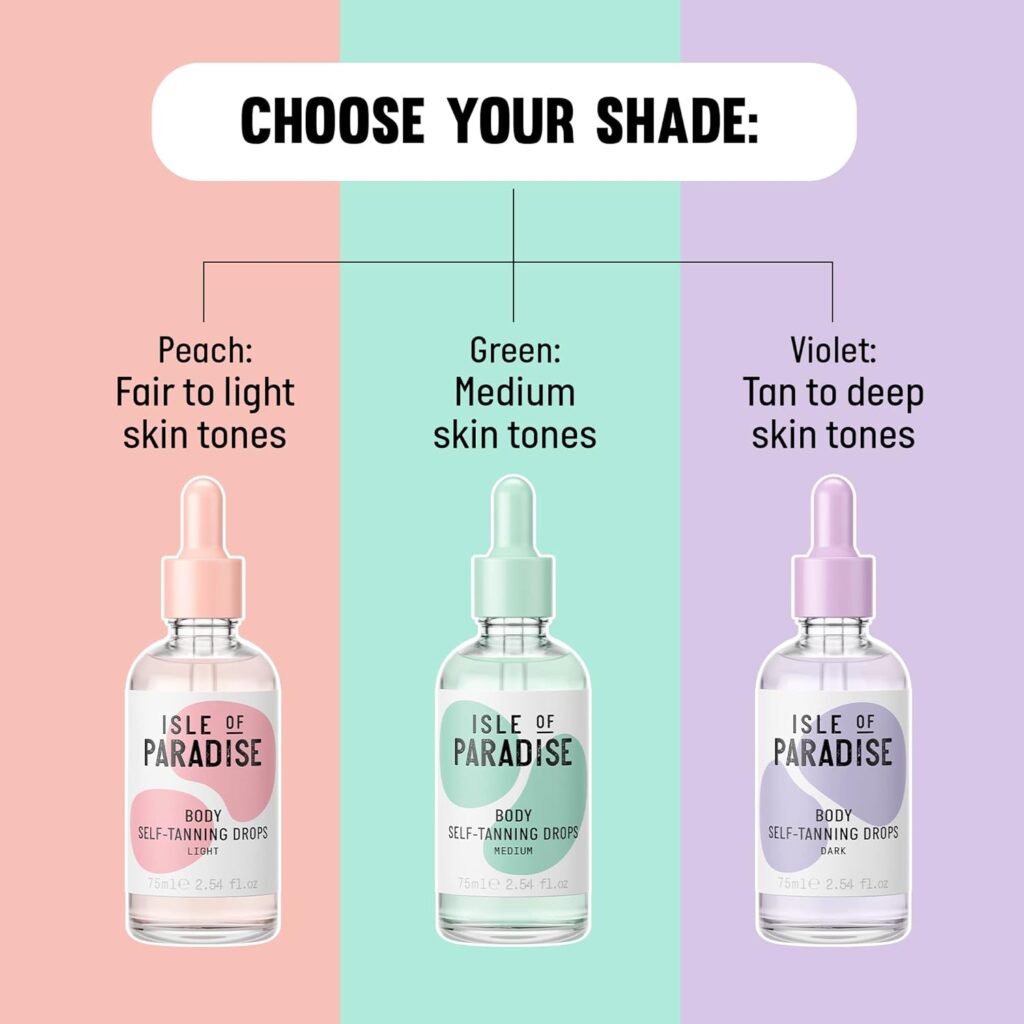
Tanning drops are a versatile option for customizable tanning. These concentrated formulas mix seamlessly with your regular moisturizer, giving you control over the intensity of your tan. They’re especially popular for facial tanning, offering a gradual and natural finish.
Simply adjust the number of drops to achieve your desired shade, making it ideal for anyone looking for a tailored approach to tanning.
Add a glow to your skincare routine with Isle of Paradise Self-Tanning Drops for Face and for Body. Mix them into your favorite moisturizer for a radiant, sun-kissed look!
Gradual Tanners
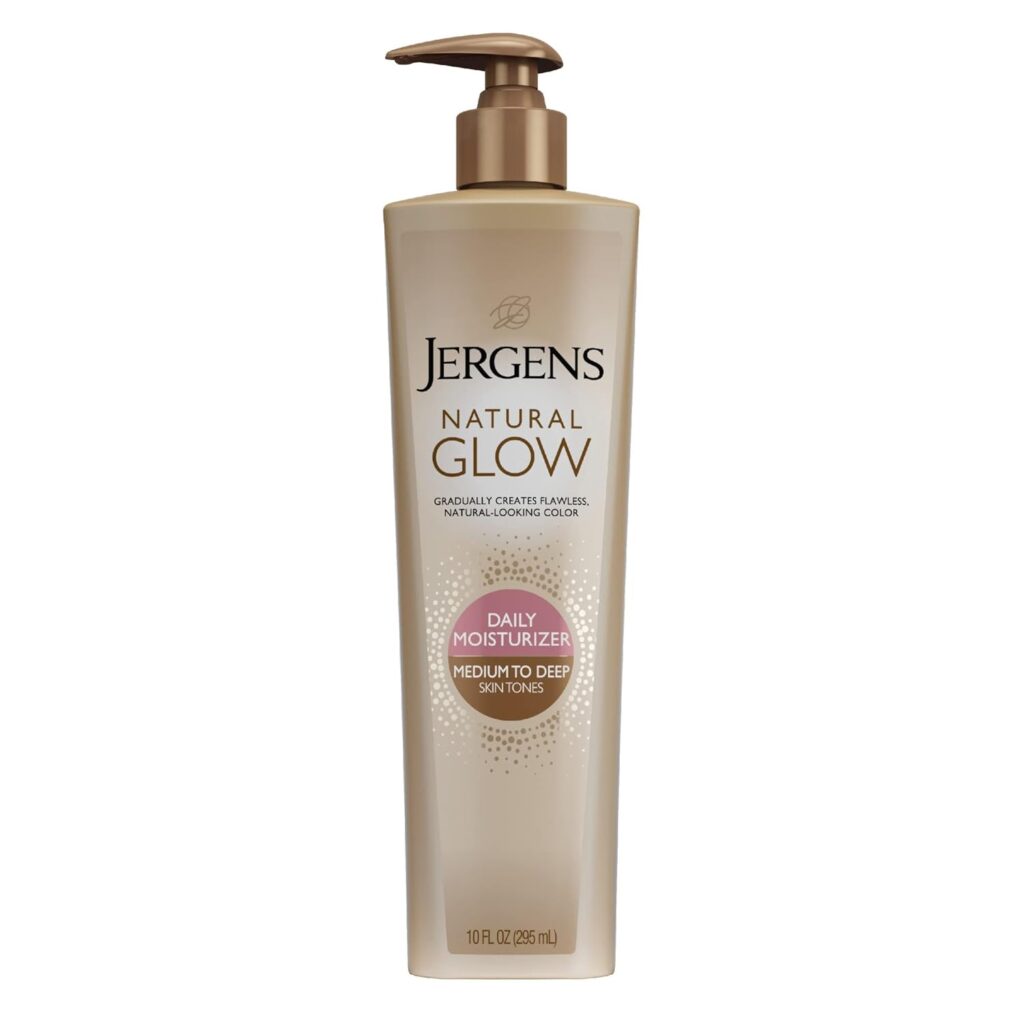
Gradual tanners are perfect for maintaining a tan or achieving a soft, subtle glow. With a low concentration of DHA, these products are designed for daily use, slowly building color over time without streaks or blotches.
They’re ideal for those who prefer a fuss-free tanning experience and a natural finish. Gradual tanners also help extend the life of an existing tan.
Keep your tan glowing with Jergens Natural Glow Daily Moisturizer. It’s a must-have for smooth, streak-free maintenance!
Final Tip
When choosing a self-tanning product, consider your skin type and tanning goals. Always patch test before full application to avoid unwanted surprises.
Ready to find your perfect match? Explore our curated list of self-tanning products for every skin type and tanning need! Make your choice today for your home-made skin tone.
- Bondi Sands Everyday Gradual Tanning Milk
- Jergens Natural Glow Self Tanner Body Lotion, Sunless Tanning
- St. Tropez Self Tan Classic Bronzing Mousse
- L’Oréal Paris Sublime Bronze ProPerfect Salon Airbrush Self-Tanning Mist
- Isle of Paradise Self-Tanning Drops for Face and for Body
- Jergens Natural Glow Daily Moisturizer
Preparing Your Skin for Self-Tanning
Proper preparation is key to achieving an even, long-lasting tan. Here’s a step-by-step guide to getting your skin ready:
- Exfoliate thoroughly: 24 hours before tanning, exfoliate your entire body.
This removes dead skin cells and creates a smooth canvas for the tanner.
Pay extra attention to rough areas like elbows, knees, and ankles. Use a gentle scrub or exfoliating mitt, and avoid oil-based exfoliators as they can leave a residue that interferes with the tanner.
- Shave or wax: If needed, shave or wax at least 24 hours before applying self-tanner.
This allows time for your pores to close, reducing the risk of irritation or uneven application.
- Cleanse: On the day of application, take a shower using a pH-balanced body wash.
Avoid using oil-based soaps or shower gels, as they can create a barrier on the skin.
- Skip moisturizer and deodorant: These products can create barriers on the skin, leading to patchy or uneven results.
If you have very dry areas, apply a light, oil-free lotion to these spots to prevent over-absorption of the tanner.
- Protect your nails: Apply a thin layer of petroleum jelly or cuticle oil to your nails and cuticles.
This prevents them from staining.
- Create barriers: If you’re concerned about over-tanning certain areas, apply a thin layer of moisturizer to your eyebrows, hairline, and any other areas you want to protect.
By following these preparation steps, you’re setting yourself up for a smooth, even application and a natural-looking result.
Becoming Better at the Application Process
Now that your skin is prepped and you’ve chosen your product, it’s time for the main event: application. Here’s a detailed guide to help you achieve a flawless finish:
- Start from the bottom: Begin with your feet and work your way up.
This prevents creasing or smudging as you bend to reach lower areas.
- Use long, sweeping motions: Distribute the product evenly using long, sweeping motions.
This helps prevent streaks and confirms even coverage.
- Use a tanning mitt: A tanning mitt can help prevent staining on your palms and ensure smooth application.
It also helps distribute the product more evenly than your hands alone.
- Be mindful of dry areas: Joints and dry areas like elbows, knees, ankles, and hands tend to absorb more tanner, resulting in darker patches.
Use what’s left on your mitt after applying to the rest of your body for these areas.
- Don’t forget your back: For hard-to-reach areas like your back, consider using a back applicator or asking for help.
If you’re applying solo, try using a long-handled lotion applicator or a spray formula.
- Face application: When it comes to your face, less is more.
Mix your self-tanner with your regular facial moisturizer for a more subtle effect.
Use a makeup sponge or brush for precise application around your hairline, eyebrows, and jawline.
- Blend, blend, blend: After applying to each section, take a moment to blend the edges.
This prevents harsh lines and creates a more natural look.
- Clean up: Once you’ve finished applying, use a damp cloth to wipe your palms, the spaces between your fingers, and the bottoms of your feet.
These areas don’t naturally tan and can look unnatural if left with product on them.
- Allow time to dry: Wait at least 10-15 minutes before getting dressed. When you do dress, opt for loose, dark clothing to prevent the tanner from transferring.
- Develop time: Most self-tanners need 6-8 hours to fully develop.
During this time, avoid showering, exercising, or anything that might cause you to sweat excessively.
Remember, practice makes perfect. Don’t be discouraged if your first few tries aren’t flawless.
Keep a tan eraser on hand for quick fixes, and remember that even the most experienced self-tanners have off days.
Advanced Techniques for a Natural-Looking Tan
As you become more comfortable with self-tanning, you can start experimenting with advanced techniques to enhance your glow:
Contouring with Self-Tanner
Just like makeup contouring, you can use self-tanner to create dimension and definition on your body. Use a darker shade or apply an extra layer to areas you want to slim or define, such as:
- Along your jawline
- Down the sides of your nose
- In the hollows of your cheeks
- Along your collarbones
- Down the sides of your torso
- Along the sides of your thighs
Be sure to blend well to avoid any harsh lines.
Customizing Your Color
Mix your self-tanner with body lotion to create a more subtle, natural-looking glow. This technique is particularly useful for fair skin tones or for maintaining your tan between full applications.
You can also mix different shades of self-tanner to create a custom color that perfectly matches your skin tone. For example, mix a dark and light formula to create a medium shade.
Gradual Building
Instead of going for a deep tan in one application, consider building your color gradually over several days. This approach allows for more control and can result in a more natural-looking tan.
Highlighting
Just as you would highlight your face with makeup, you can use a lighter shade of self-tanner or a illuminating bronzing lotion to highlight certain areas of your body. Apply to areas where the sun naturally hits, such as:
- The tops of your cheekbones
- The bridge of your nose
- The center of your forehead
- Your shoulders
- The fronts of your shins
This technique adds dimension and gives your skin a sun-kissed glow.
Maintaining Your Tan
Maintaining your tan is just as important as the initial application. Here are some tips to keep your glow going strong:
- Moisturize daily: Keep your skin hydrated to prevent flaking and extend the life of your tan.
Use an oil-free moisturizer to avoid breaking down the tan faster.
- Gentle cleansing: When showering, use lukewarm water and avoid scrubbing your skin. Hot water and harsh scrubbing can cause your tan to fade more quickly.
- Touch-ups: If you notice any patchiness, gently exfoliate those areas and reapply a small amount of tanner.
- Gradual tanners: Use a gradual tanning lotion every few days to maintain your color and prevent sudden fading.
- Avoid chlorine and salt water: These can strip your tan.
If you do swim, apply a waterproof sunscreen beforehand to create a barrier.
- Stay hydrated: Drinking plenty of water helps keep your skin hydrated from the inside out, which can help your tan last longer.
- Extend with bronzer: On days when your tan is starting to fade, use a wash-off body bronzer to even out your skin tone and extend the life of your tan.
Troubleshooting Common Self-Tanning Issues
Even with the best preparation and application, sometimes things don’t go as planned. Here’s how to fix common self-tanning mishaps:
Streaks and Patches
If you notice streaks or patches, try these fixes:
- Gently exfoliate the area with a damp washcloth or exfoliating mitt.
- Apply a small amount of self-tanner mixed with moisturizer to even out the color.
- For stubborn streaks, use a tan eraser or a mixture of lemon juice and baking soda to lighten the area.
Orange Tones
If your tan has developed an orange hue:
- Take a warm bath with a cup of baking soda to help neutralize the orange tones.
- Use a blue or green-based self-tanner for your next application to counteract the orange.
- Consider switching to a different brand or formula that better suits your skin’s pH.
Too Dark
If your tan is darker than intended:
- Take a warm bath and gently exfoliate your skin.
- Use a tan eraser or a mixture of lemon juice and baking soda on the darkest areas.
- Apply baby oil before showering to help break down the tanner more quickly.
Stained Hands or Feet
To fix stained palms or soles:
- Make a paste with baking soda and water, then gently scrub the stained areas.
- Use a tan eraser or specialized self-tan remover.
- Try whitening toothpaste – the mild abrasives can help remove the stain.
Uneven Fading
To address uneven fading:
- Gently exfoliate your entire body to even out the color.
- Apply a gradual tanning lotion to the lighter areas to blend the color.
- If the difference is significant, consider removing the remaining tan and starting fresh.
Frequently Asked Questions
How long does a self-tan typically last?
A self-tan typically lasts about 5-7 days, depending on your skin type, lifestyle, and maintenance routine. Regular moisturizing and gentle cleansing can help extend the life of your tan.
Is self-tanning safe for sensitive skin?
Many self-tanning products are formulated for sensitive skin. Look for products labeled “hypoallergenic” or “for sensitive skin.” Always do a patch test before full application.
Can I self-tan if I’m pregnant?
While DHA is considered safe for topical use, it’s always best to talk to your healthcare provider before using self-tanning products during pregnancy.
How often should I exfoliate when self-tanning?
Exfoliate 24 hours before applying self-tanner, and then once or twice a week to maintain an even tan. Avoid exfoliating immediately after applying self-tanner, as this can remove the product before it fully develops.
Can I apply self-tanner to my face?
Yes, but it’s best to use products specifically formulated for facial use. These tend to be gentler and less likely to clog pores.
You can also mix your regular self-tanner with facial moisturizer for a more subtle effect.
How can I prevent self-tanner from transferring to my clothes?
Wait until the self-tanner is completely dry before dressing. This usually takes about 10-15 minutes.
Wear loose, dark clothing for the first few hours after application.
Some brands offer “transfer-resistant” formulas that are less likely to rub off on clothes.
What’s the best way to remove self-tanner quickly?
To remove self-tanner quickly, try soaking in a warm bath with baking soda, then gently exfoliating. You can also use a specialized self-tan remover or a mixture of lemon juice and baking soda.
Can I apply self-tanner over an existing tan?
Yes, you can apply self-tanner over an existing tan, whether it’s natural or from a previous self-tanning session. Just make sure your skin is clean and exfoliated before application.
How can I achieve a darker tan with self-tanner?
For a darker tan, choose a product with a higher DHA concentration. You can also layer your self-tanner, applying a second coat after the first has fully developed (usually 24 hours later).
Is it necessary to use a tanning mitt when applying self-tanner?
While not absolutely necessary, a tanning mitt helps ensure even application and prevents your palms from staining. It’s highly recommended, especially for beginners.
Key Takeaways
- Understanding the science behind self-tanning helps you make informed product choices and achieve better results.
- Proper skin preparation is crucial for an even, long-lasting tan. Exfoliate 24 hours before application and cleanse thoroughly on the day of tanning.
- Choose products based on your skin type, desired outcome, and experience level. Lotions are great for beginners, while mousses offer quicker application for experienced users.
- Master application techniques to avoid common pitfalls like streaks and patches. Start from the bottom, use long sweeping motions, and pay special attention to dry areas.
- Maintain your tan with proper aftercare, including daily moisturizing and gentle cleansing. Touch up as needed with gradual tanners or spot application.
- Advanced techniques like contouring and customizing your color can help you achieve a more natural, dimensional look.
- Don’t be discouraged by mishaps – troubleshooting skills will improve with practice.
Disclaimer: The information provided on this website is for informational purposes only and is not intended as medical advice. I may earn a commission from qualifying purchases made through affiliate links, including those from Amazon, at no extra cost to you.